In this article i share how to enable virtualization VT on Window 10. When you try to install intel haxm in android studio the showing error intel haxm installation failed. to install intel haxm follow the instructions found at: https://github.com/intel/haxm/wiki/installation-instructions-on-windows.
Solutions for the error is to enable virtualization VT and try agin is working successfully. So in this article i am sharing how to enable virtualization VT.
Virtualization: Why should I allow it?
Virtualization allows you to enjoy the following benefits on BlueStacks 5.
- Performance 5x
- BlueStacks 5 can use more than one CPU core
- FPS lag/stutter in different games eliminated
- You can play games at the most graphic settings
How to enable Virtualization (VT) on Windows 10
Virtualization can only be enabled by entering the BIOS. These steps will show you how to do it.
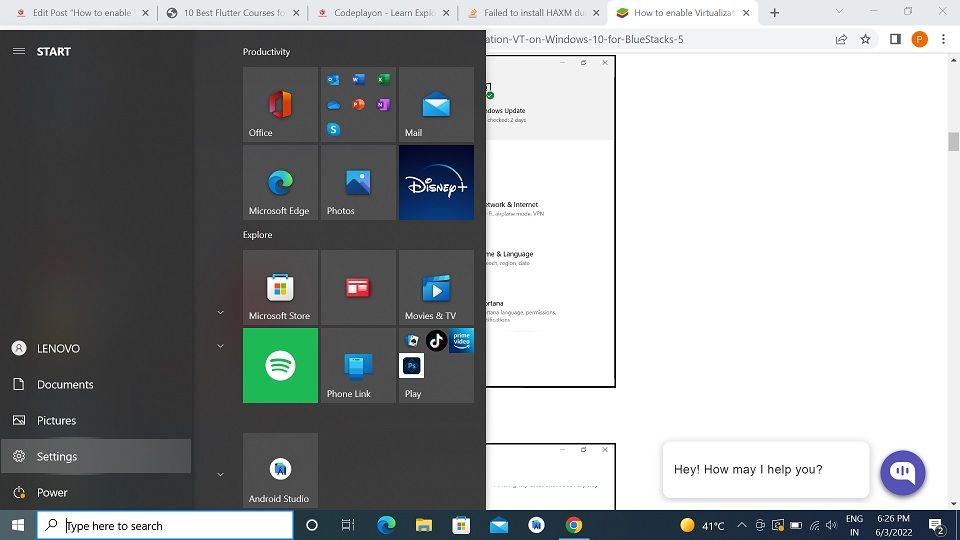
1. Click on the Start Menu to open Windows Setting, or click on the gear icon as shown below.
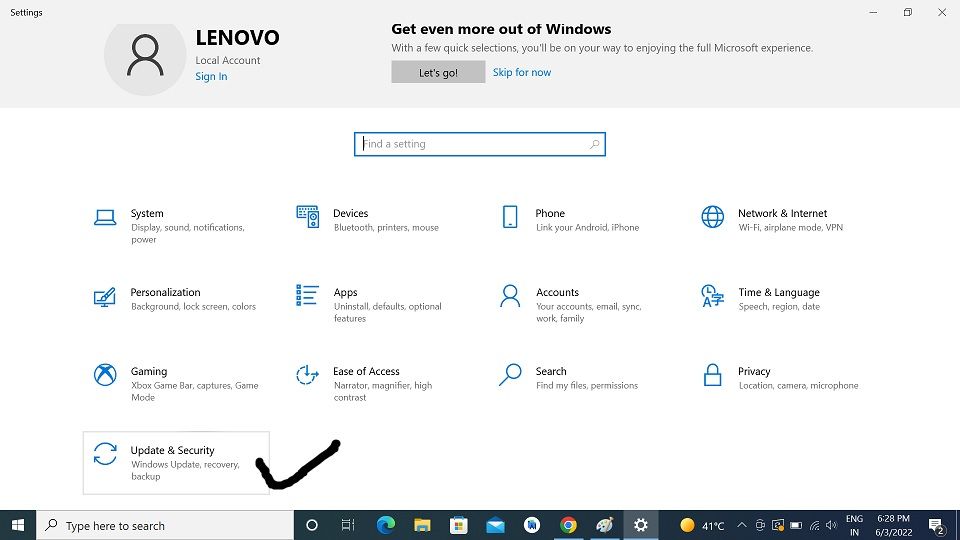
2. Click on to “Update & Secure”.
3. Click on “Restart Now” in the “Recovery” tab.

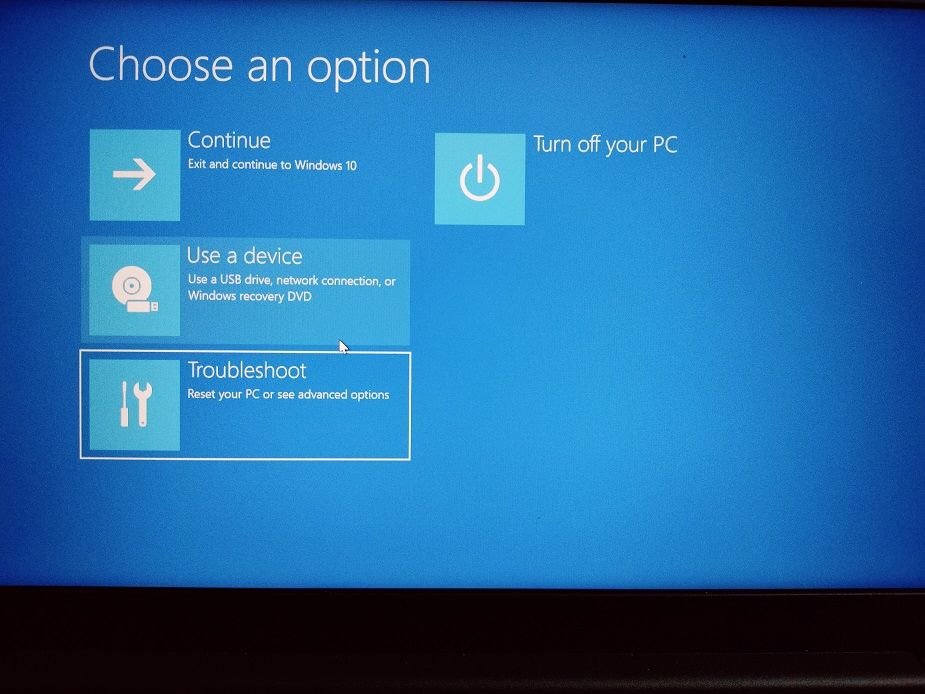
4. There are now 4 options for you to choose from. Click Troubleshoot.
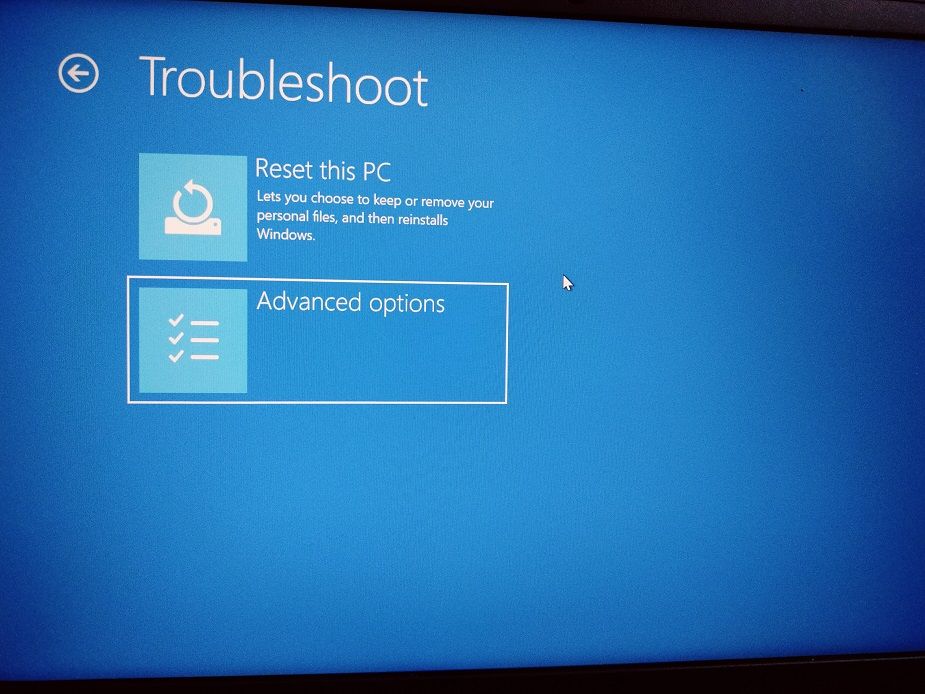
5. Next, Click on Advanced Options.
6. Select UEFI Software Settings from the Advanced Options, as shown below.
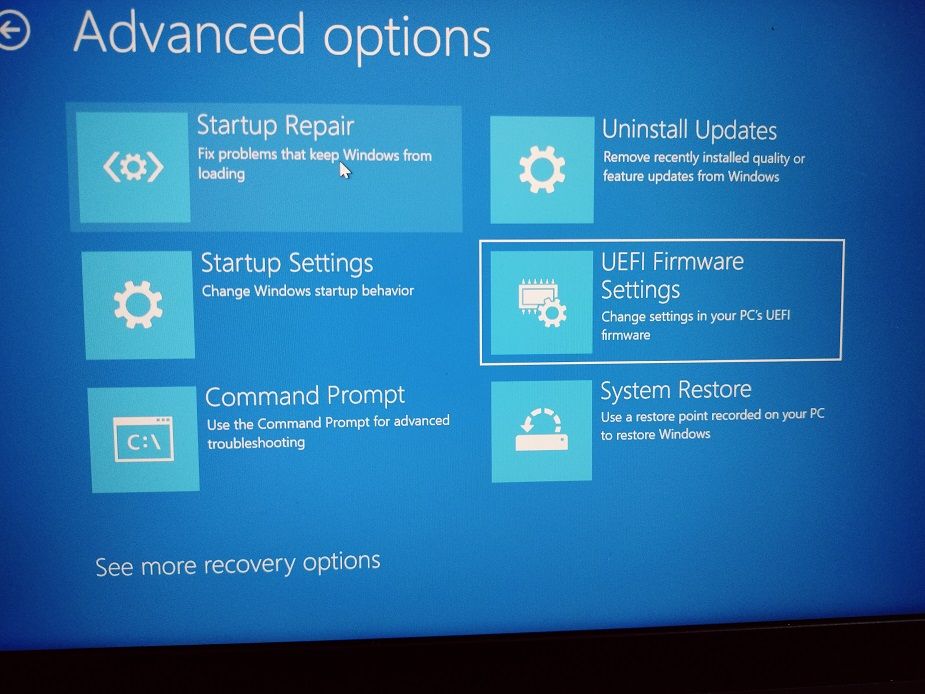
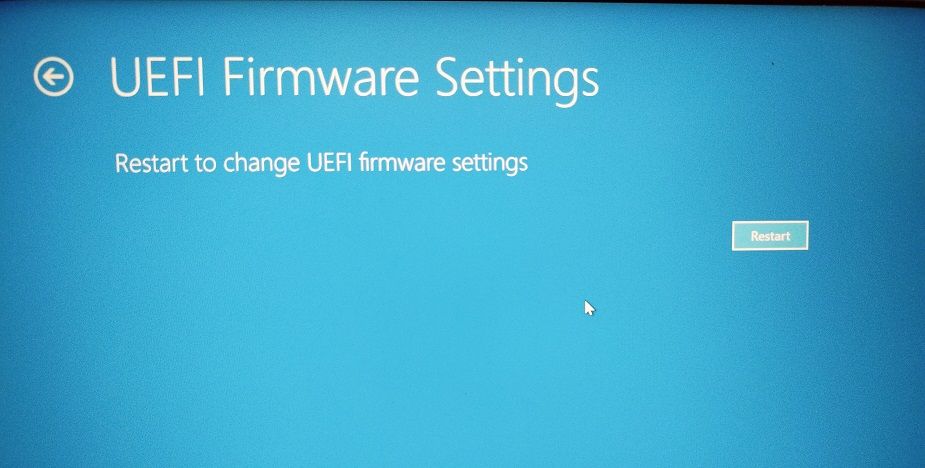
7. Now, you will be asked to restart your computer. Click on Restart Now.
8. After you have set the BIOS settings on your computer, the steps to enable virtualization will differ depending on the CPU that you have. Click on one of these links based on which CPU you have.
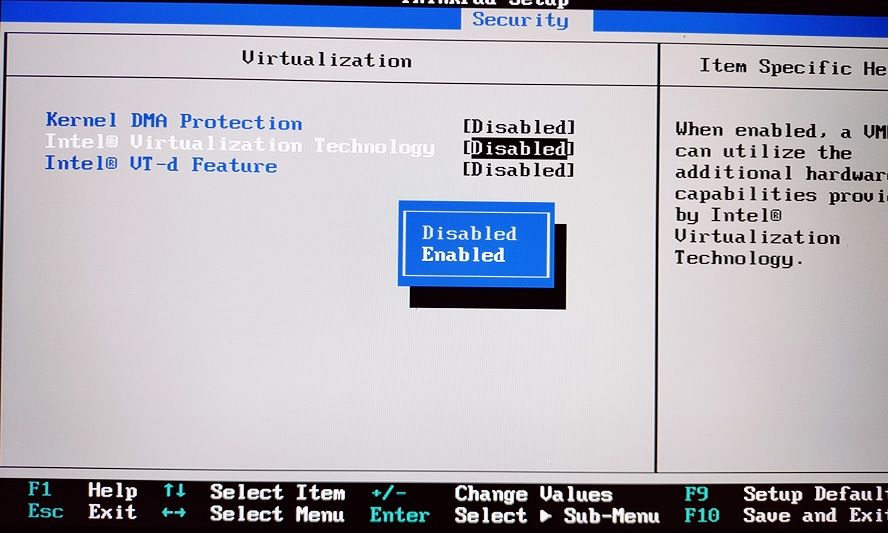
9. Then open system BIOS setting. click on Security Tab – Then Select Virtualization.
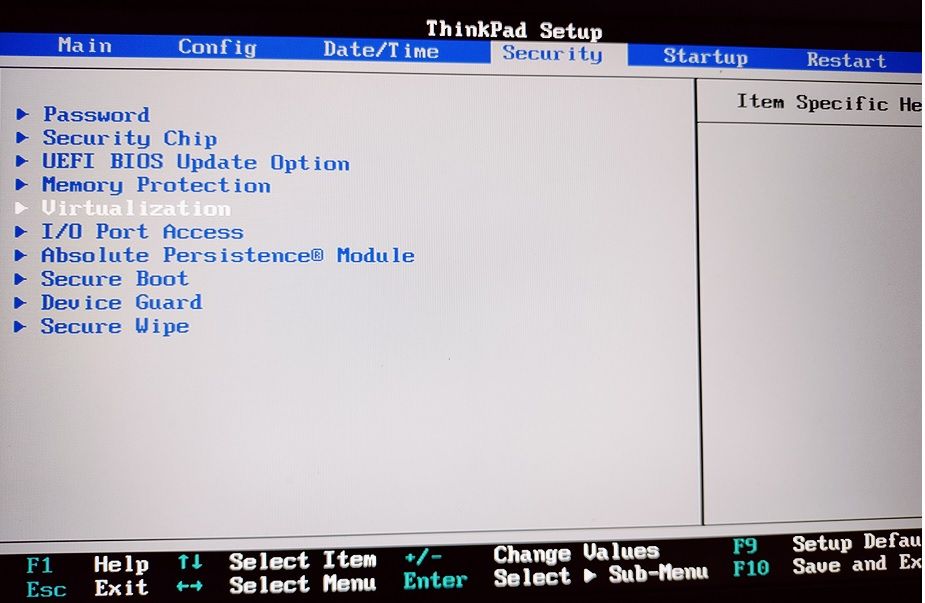
10. Then You can see Virtualization Option
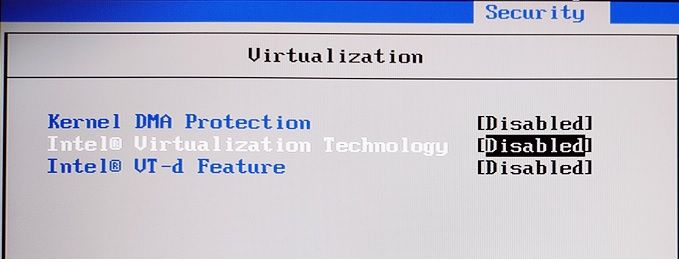
11. Then Select the virtualization technology here you can see right side disable select it and press enter. the show a popup end enable it.
12 . The Press F10 for save and exit
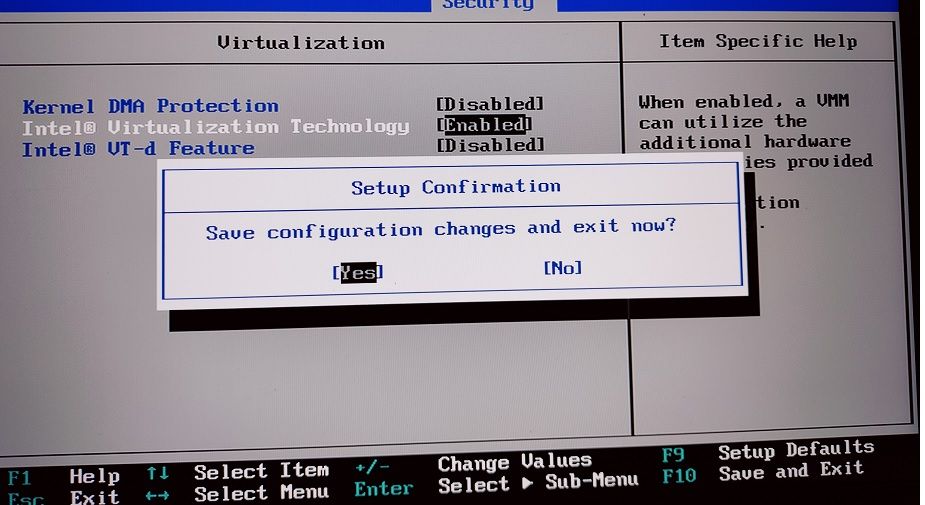
Select yes and press enter after that your system is again restart and you setting is done now you can install your android intel haxm installation and its successfully work.
- Open BIOS setting of your PC/Laptop.
- Goto Advance -> Device Configuation.
- Enable VTx(Virtualization Technology).
and Try to install HAXM. Hope this will work.
Read More Tutorial