1.6kviews
Hii Developer In this article I am sharing how to Creating Simple Flutter Application in Android Studio. After complete the setup of flutter in your android studio. Install Flutter SDK and set Path and run flutter doctor complete all the requirements. Let,s Create a simple fluter Application with android studio.
- 1: Start Android Studio.
- 2: Click On Start a new flutter project.
- 3: Select Application.
- 4: Firstly Set SDK Path after set location of the project then click on Next.
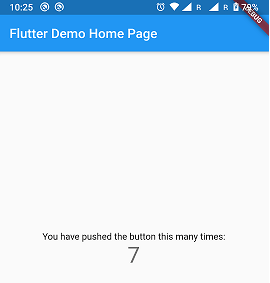
follow all these steps and let’s create your first flutter app with android studio.
Start Android Studio
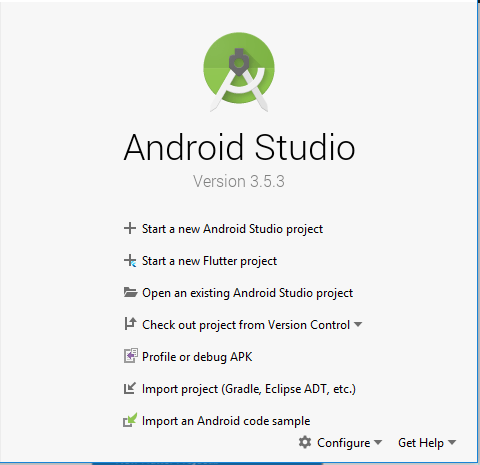
Click on Start a new Flutter project
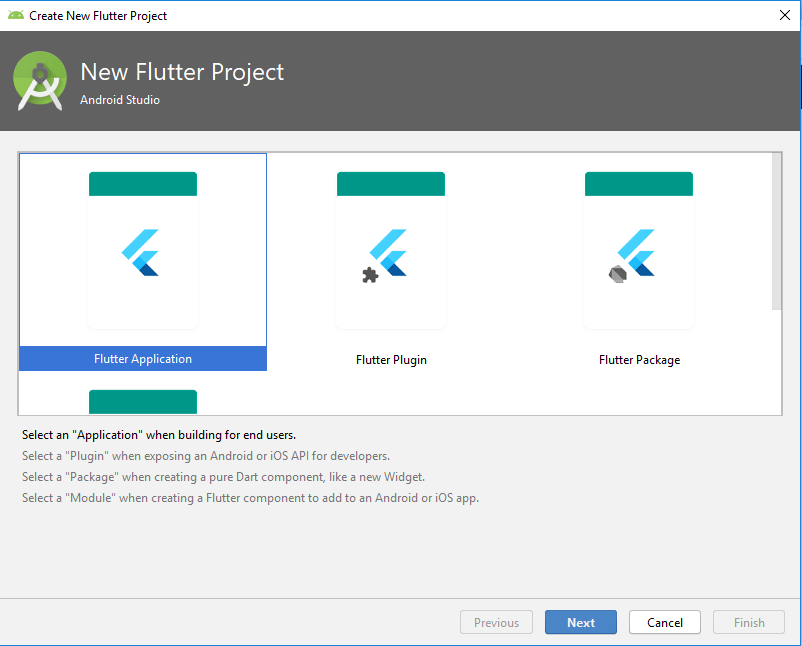
Select Flutter Application

Set Project Name, And Select Flutter SDK path and location of the project where you want to store the app.
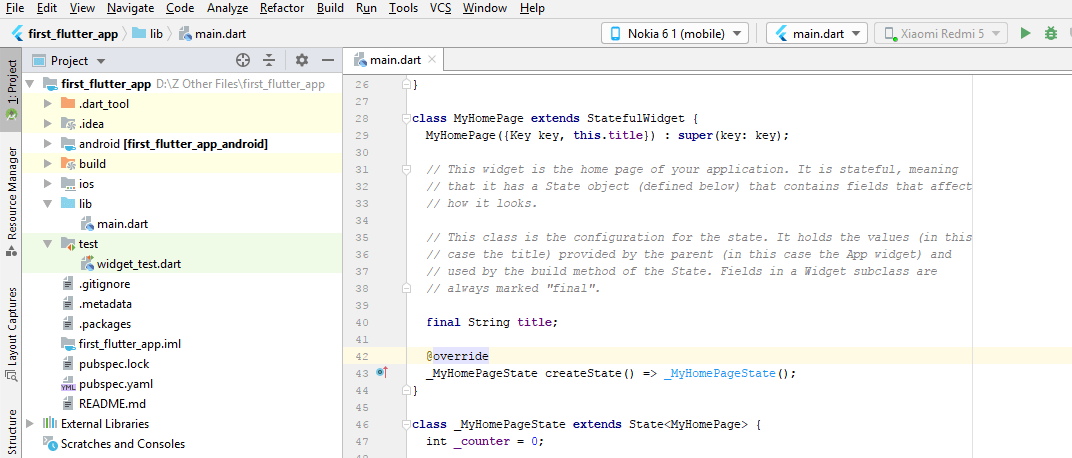
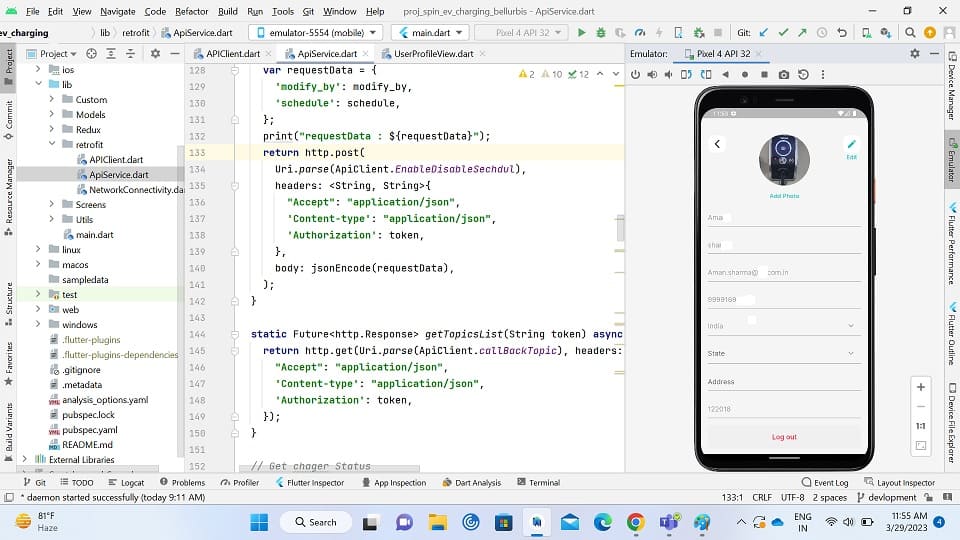
Components of the structure of the Flutter application :
- android – Auto-generated source code to create android application
- ios – Auto-generated source code to create ios application
- lib – Main folder containing Dart code written using flutter framework
- lib/main.dart – Entry point of the Flutter application
- test – Folder containing Dart code to test the flutter application
- test/widget_test.dart – Sample code
- .gitignore – Git version control file
- .metadata – auto-generated by the flutter tools
- .packages – auto-generated to track the flutter packages
- .iml – project file used by Android studio
- pubspec.yaml – Used by Pub, Flutter package manager
- pubspec.lock – Auto-generated by the Flutter package manager, Pub
- README.md – Project description file written in Markdown format
this all most of the used component and file in flutter app you see all these files.


