In the SwiftUI there is no any direct View to make an Image Slider. But there are many solutions to make it easy and fast way. We use three important Views to make a Slider.
How to create a Image Slider in SwiftUI ?
Three Important View create a SwiftUI Image Slider
- ZStack
- TabView
- Image
What is ZStack in SwiftUI?
ZStack helping to Overlapping the view one view onto the other one. Like in image slider you need to overlapping any text Titale button etc . Since we wanna make an Image Slider, it means one image would be overlapping the other on touch. ZStack provides convenient mechanism for this.
What is TabView in SwiftUI?
TabView allows to add multiple view with the custom UI design to interactive views. Since we are going to tap and move the images, so we need TabView. Previously we said we are going to do overlapping of the images. ZStack supports overlapping of it’s childrens, but does not know how to do it. And it’s not gonna happen automatically. We do have to it using TabView.
and since we are going to use images to make slider, we need to use Image() view. Make sure that before you use Image() view, wrap it around using forEach() loop. Now see our code so far
so let’s start to make swiftui Image slider with Auto image change every 3 seconds.
SwiftUI Image Slider Example
Let’s start to make a custom view to Auto slider image and in this view we are using TabView and adding a list of data.
let images = ["image_learn","image_fit","image_learn"]
TabView(selection : $selection){

                ForEach(0..<3){ i in
                    Image("\(images[i])").resizable()
                        .frame(width: .infinity
                        )
                        .ignoresSafeArea()
                }
            }.tabViewStyle(PageTabViewStyle())
here images is a array list of image and in tabview we are create a view with the help of ForEach.
Image Slider Complete Source Code
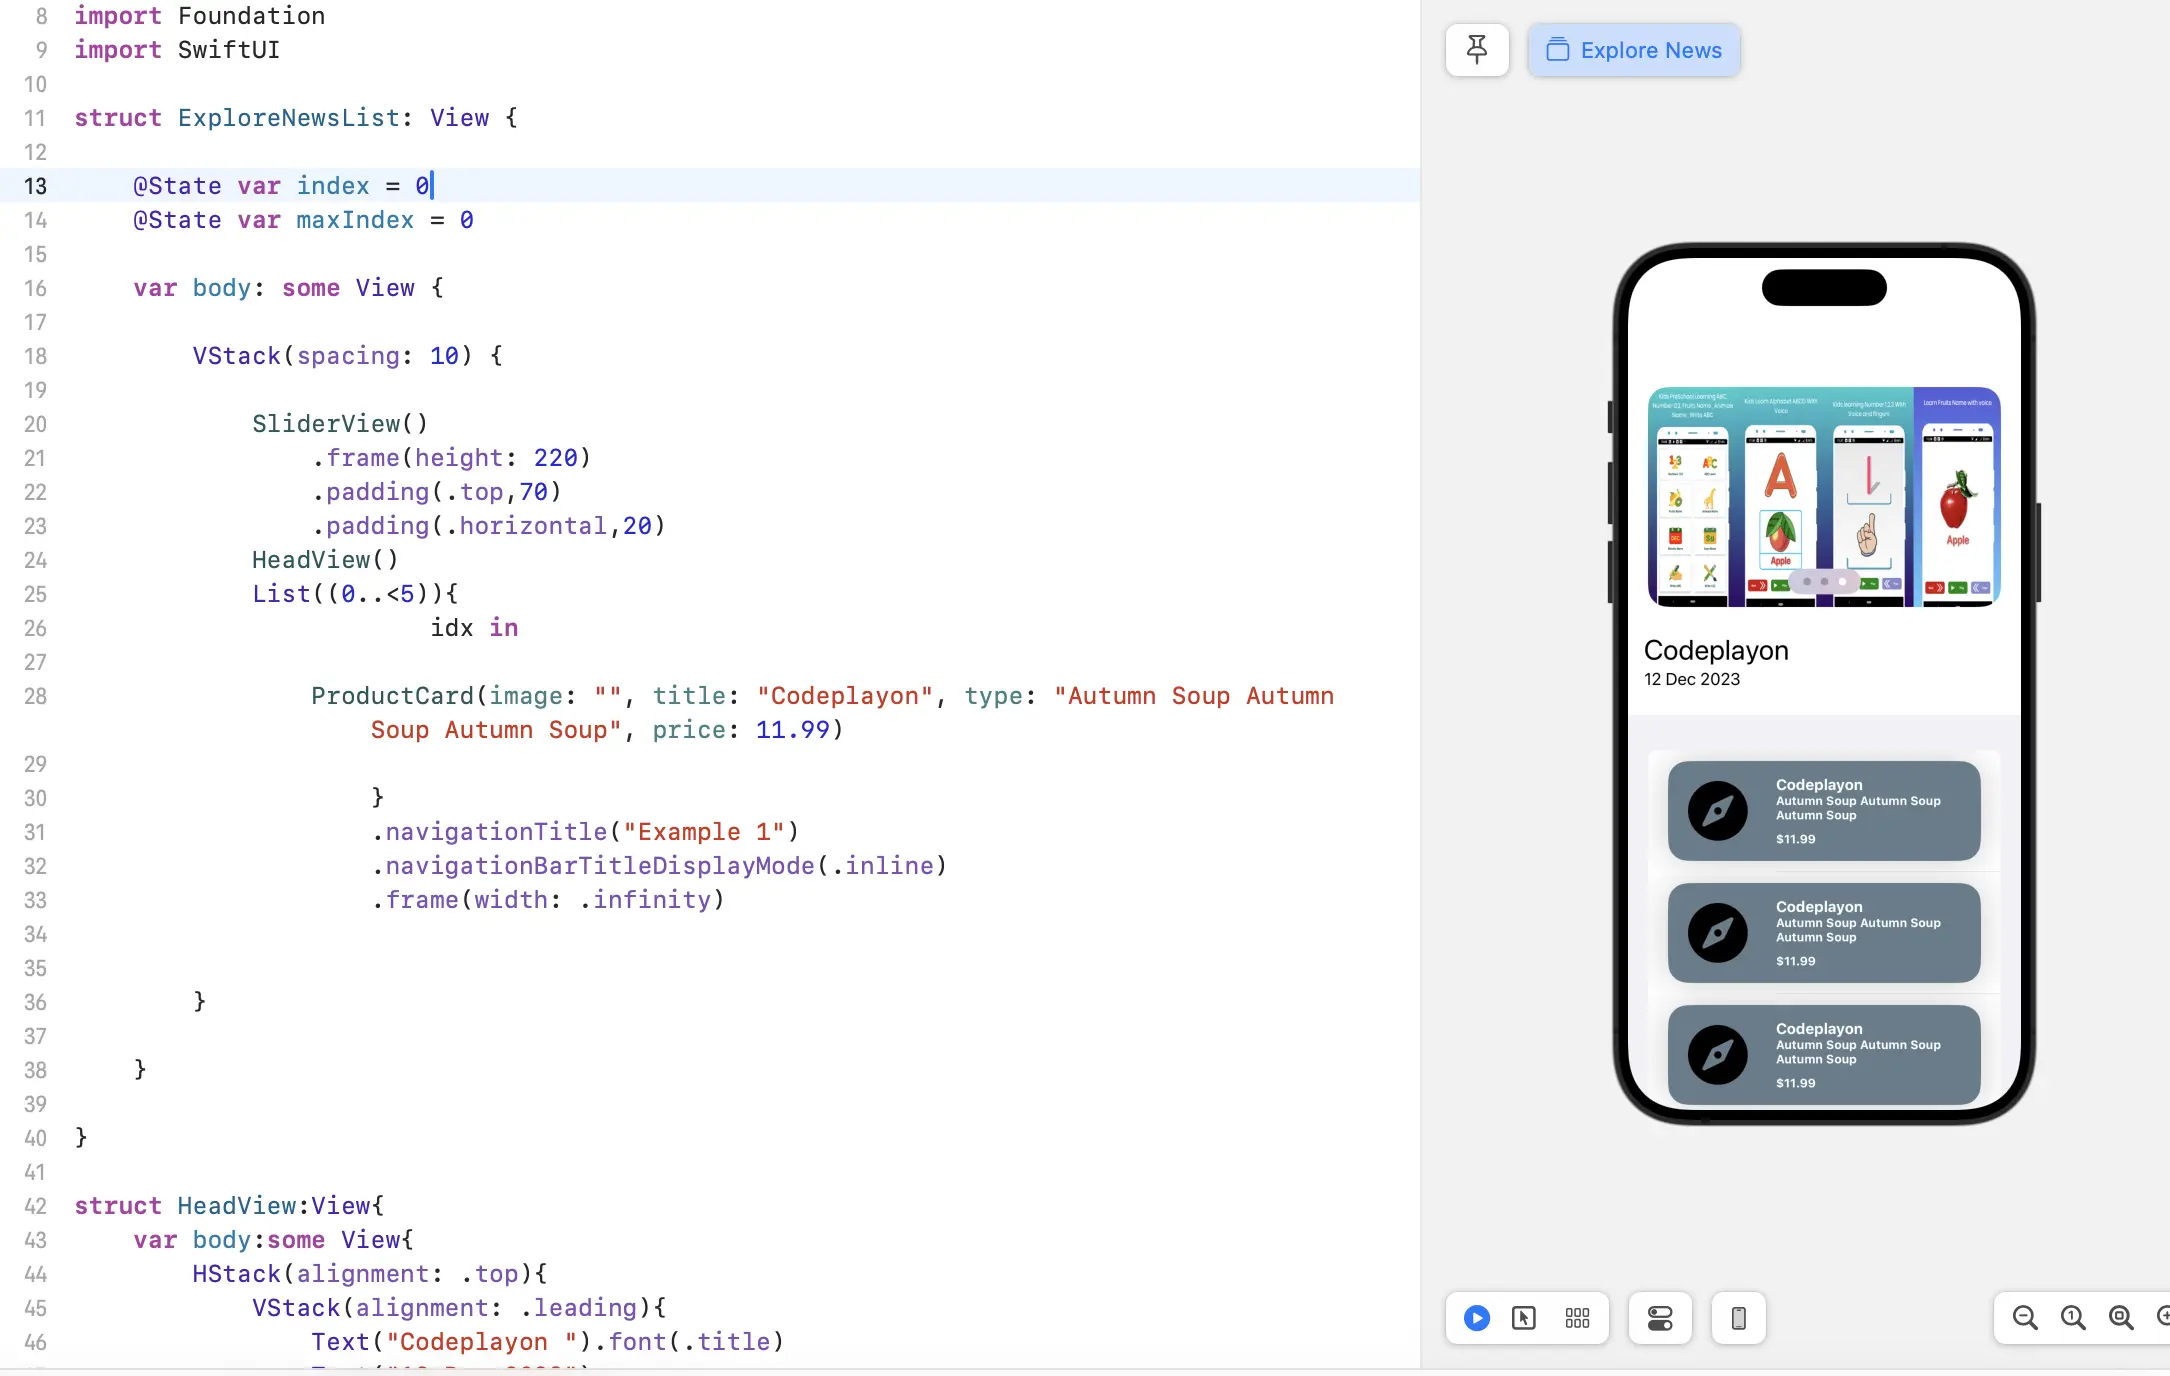
import Foundation
import SwiftUI

struct ExploreNewsList: View {


    var body: some View {

        VStack(spacing: 10) {

            SliderView()
                .frame(height: 220)
                .padding(.top,70)
                .padding(.horizontal,20)

        }
    }
}

struct SliderView: View {

    public let timer = Timer.publish(every: 3, on: .main, in: .common).autoconnect()
    @State private var selection = 0

    ///  images with these names are placed  in my assets
    let images = ["image_learn","image_fit","image_learn"]


    var body: some View {

        ZStack{
            Color.gray
            TabView(selection : $selection){
                ForEach(0..<3){ i in
                    Image("\(images[i])").resizable()
                        .frame(width: .infinity
                        )
                        .ignoresSafeArea()
                }
            }.tabViewStyle(PageTabViewStyle())
            .indexViewStyle(PageIndexViewStyle(backgroundDisplayMode: .always))
            .onReceive(timer, perform: { _ in
                withAnimation{
                    print("selection is",selection)
                    selection = selection < 3 ? selection + 1 : 0
                }
            })
        }.ignoresSafeArea()
        .cornerRadius(20)
    }
}

struct ExploreNews_Previews: PreviewProvider {
    static var previews: some View {
        ExploreNewsList()
    }
}
Now you can run and check the UI for Auto Image Slider.
Read More Tutorial